

We Bought a Camper - Now What!? Part 1: The Three Boxes
Before we bought the trailer, Tony said, “Are you sure you know what we’re getting into? Campers can be very complicated!”
I said, “Sure, no problem, I’ve watched all the videos online!”
But then we got it home and I thought, “Ummm, how do we hook it up to electricity? to water? to the car? to propane? …maybe I don’t know what we’re doing!”
There were many accessories I discovered we’d need!
Hopefully these articles help you be more prepared than I was, reader.
There were so many systems to learn and accessories to buy! Not to mention decorating!
We checked out some lists online and watched some YouTube videos, then logged in to Amazon and Target and started ordering! I would say we spent about $800-1,000 on the items for setting up the camper. We could have done it cheaper because we did spend a lot on decor, as you’ll see, but probably $400-500 was for necessary equipment.
In Part 1, we’ll look at the three boxes that store all of our hookup equipment.
The “wet bath” in the T@b 400 has a window, a fan, lights, a toilet, a drop down sink, an adjustable shower-head, a shower curtain, a covered toilet paper holder, a radiator, and lots of storage. When you want to take a shower, you enclose the room in the shower curtain so that all that gets wet is the shower, floor, and curtain.
Water Box
The water system in the T@b is pretty standard to campers as far as what we needed to buy to make the system work. When we arrive to most campsites, we hook up the camper’s water system to a standard water spigot at the site.
To do so, from hookup to camper, we needed:
A water pressure regulator, in case any of the campgrounds have high water pressure which could potentially break our pipes. $10
A 2-way water splitter so we will be able to access water separately when the hose is hooked to the camper. $10
A drinking water hose to be used exclusively for bringing water to the camper (blue for drinking—never to touch the sewer water hose!). We went with a 50’ zero g hose that will take up less space in the small camper than a standard, inflexible hose. $30
A water filter. We decided to attach this each time between the hose and the camper, but some people put it between the water pressure regulator and the hose. $20
When we aren’t camping, we store all of those items in a bin that we labeled… you’ll never guess… “Water”.
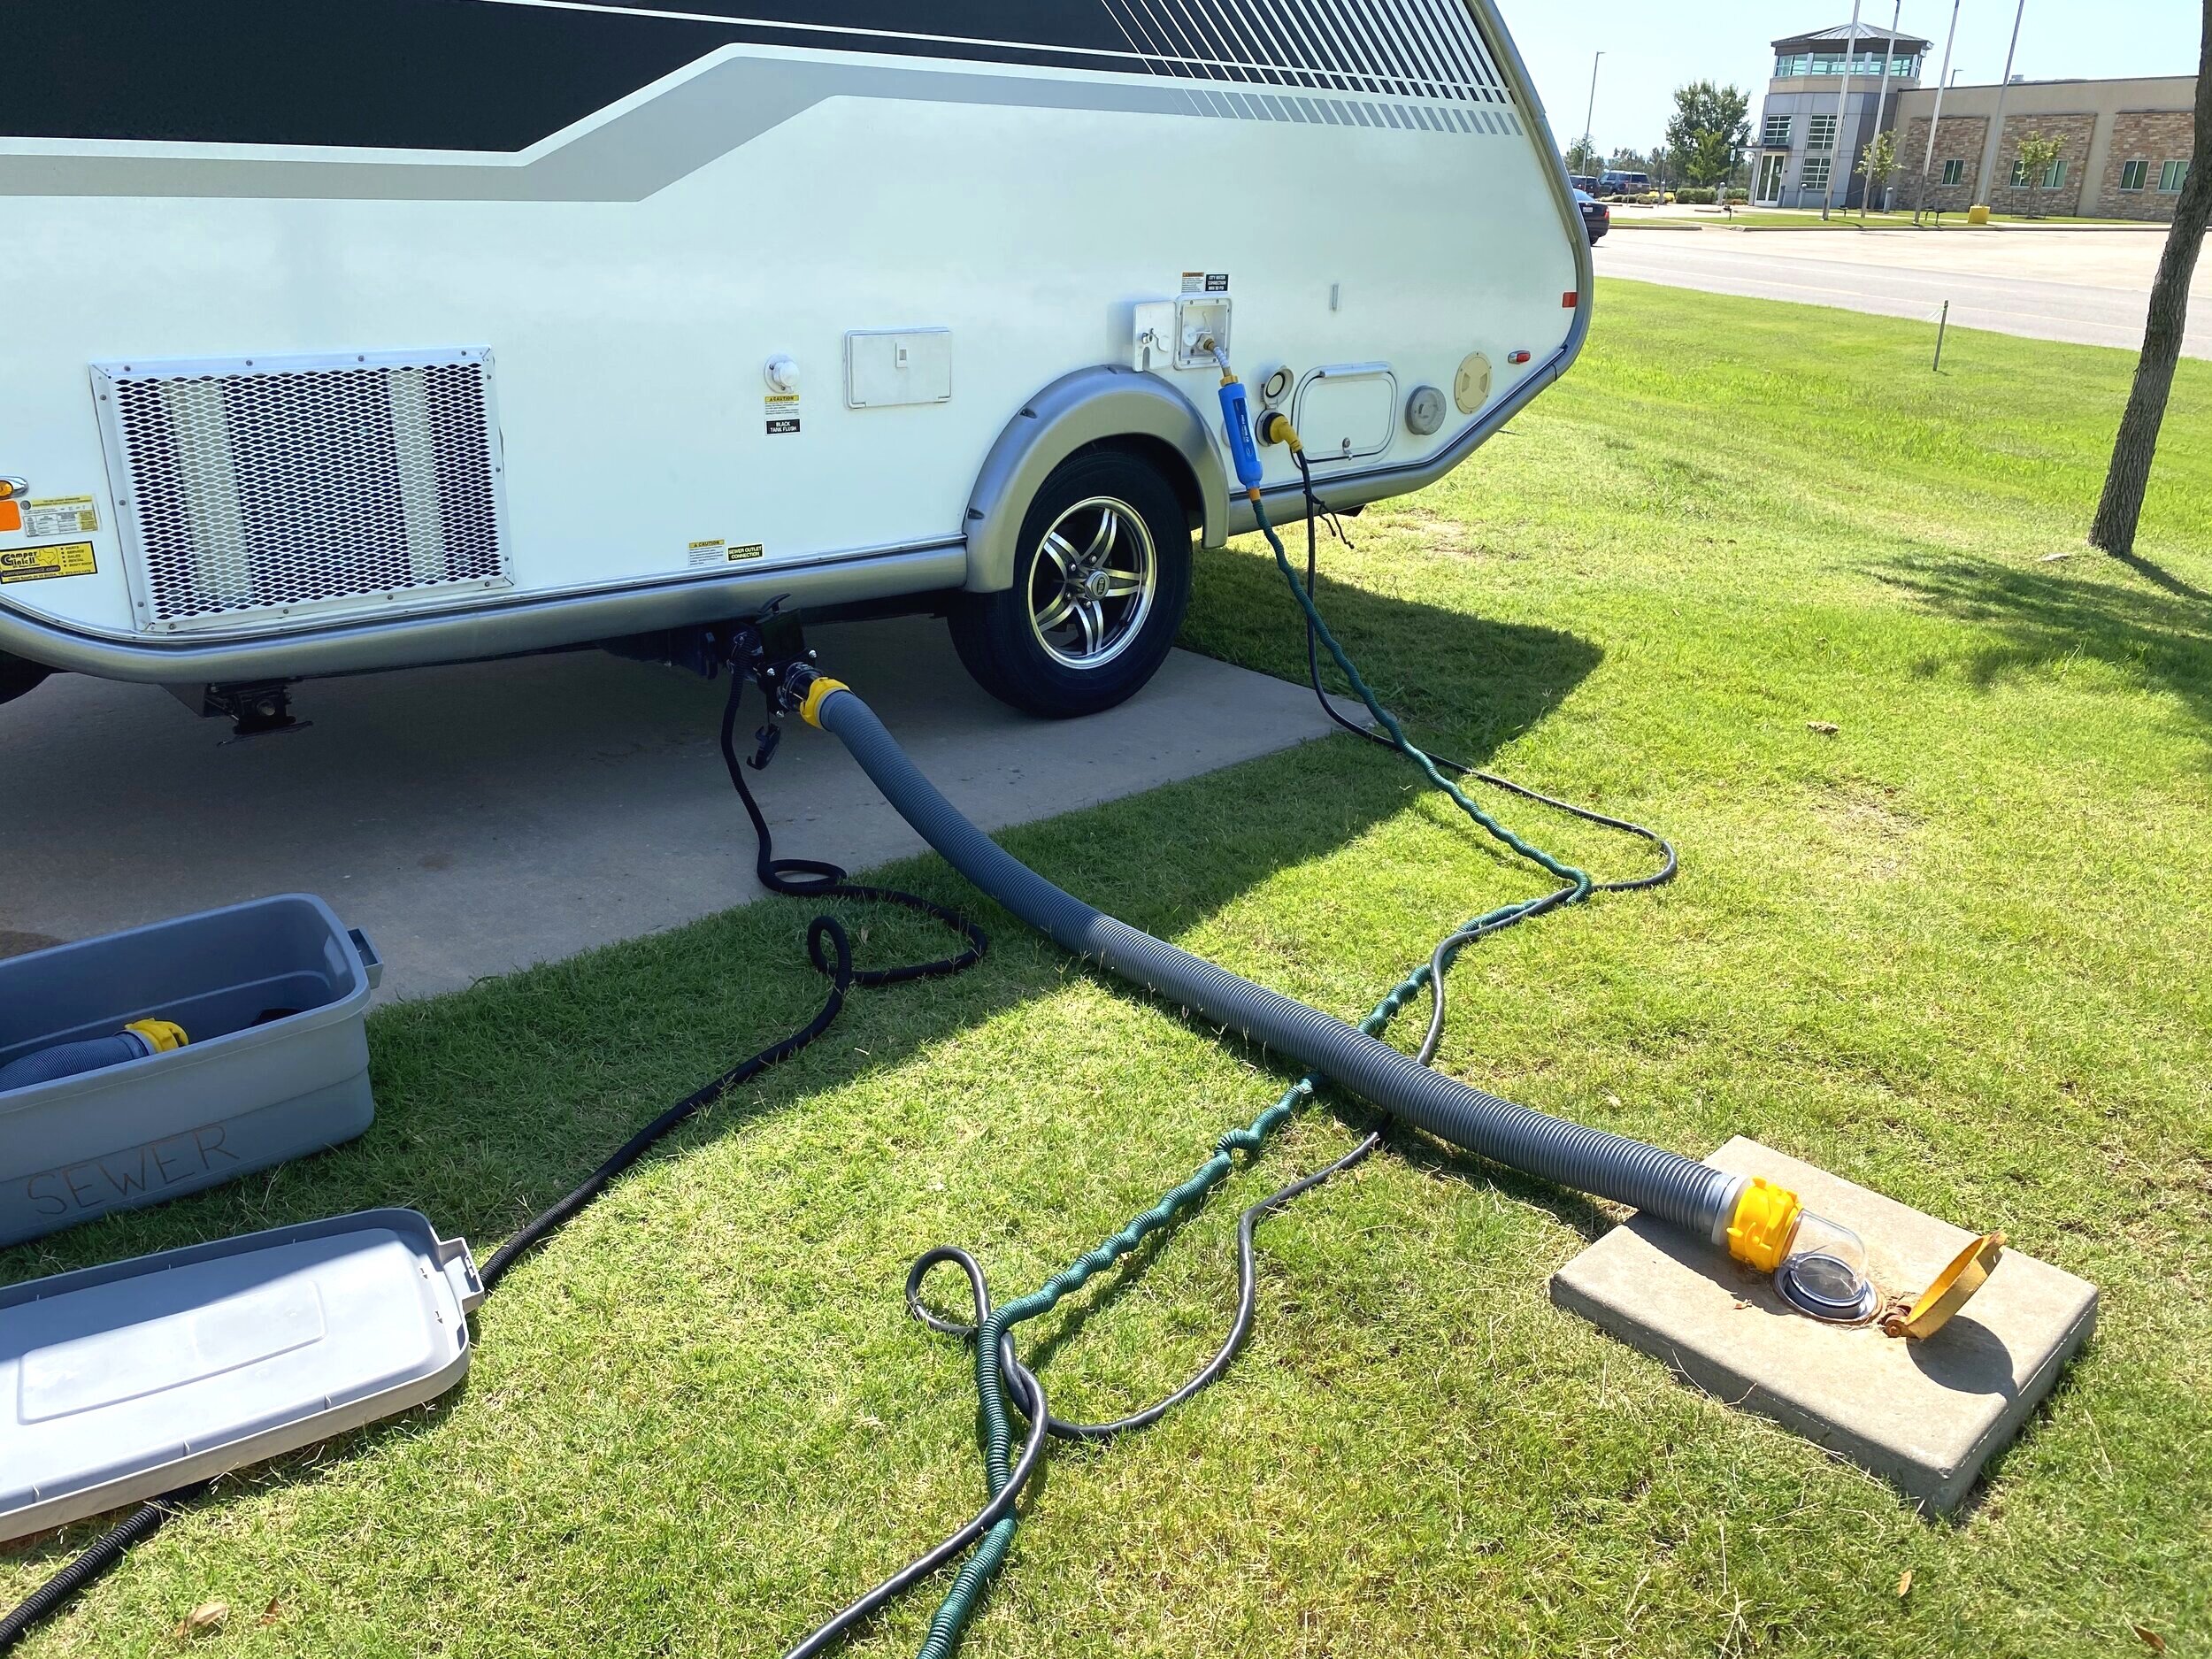
Next, the sewer system, consisting of the grey and black tanks. I learned the grey tank is the tank that the water from the sinks or shower flows into, and the black tank is the tank that the toilet water flows into. We wanted to not only have the hoses but also a method to clean out the black tank.
So we ordered:
A sewer hose system, long enough to reach quite far, along with a hose support (we didn’t think we’d need that at first but then discovered the ground from the camper to the sites’ sewer holes wasn’t always downhill). $60
A sewer hose seal. Some campsites require it, depending on the size of their sewer hole. $9
A hose to use only for the sewer. We went with the zero g hose again. $50
A system to clean out the black tank using the water hose. $40
Black tank deodorizer. Everyone recommended Happy Camper and we have used it in hot temperatures and find it really does keep the odor down or erase it completely. Plus it’s organic! $22
Grey tank odor control liquid (for pipes and tanks). $6
Disposable gloves! Because ewww.
And this is all kept in the box labeled “Sewer”!
Sewer Box
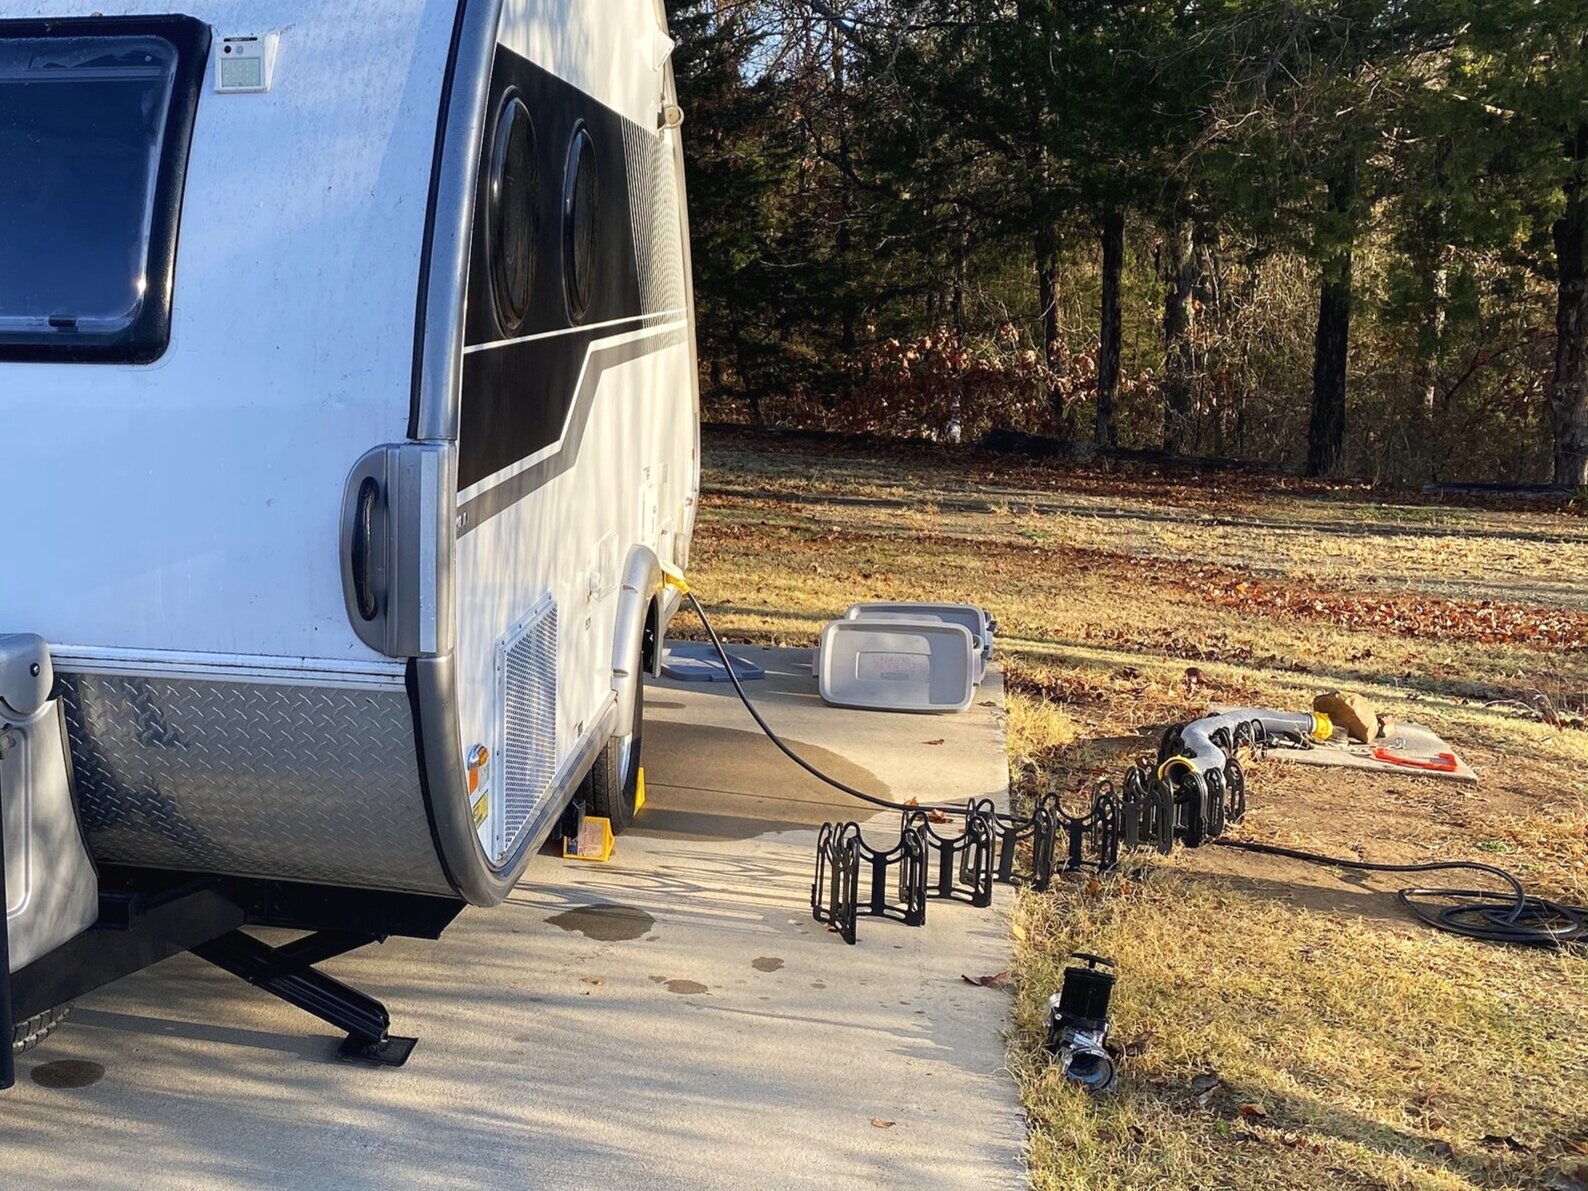
For the third and final box that we keep in the storage area under the bed of the camper, we have the electric box. Our camper uses a 30 Amp connection (as most smaller campers do—larger RVs use 50 Amp). In order to prepare for any potential connection we could run across on our journeys, we bought 30 Amp equipment as well as adaptors to other power sources.
The first thing that plugs into the campsite’s electric box is a surge protector. We bought this one which is called a surge protector but basically just tells you through lights if the campsite’s electrical is wired correctly and is safe to plug in to. It doesn’t actually protect the camper should there be a surge of electricity, so at some point we will upgrade to an actual surge protector, which is much more expensive. $100-250
The cord then plugs into the surge protector, and into the camper. Luckily our camper came with one so we didn’t have to buy it. $60
We then bought a 50A to 30A adaptor for the times that there is only a 50A plug at a campsite. $15
We bought a 30A to 15A adaptor for the times we are plugging in to the house electricity. $13
And that box is labeled “Electric”!


